|
Managing multiple stages is simple, either enable or disable a stage, set a stage for set 1 or 2 and CoverJock does the rest. Below is details on how to manage your stages.
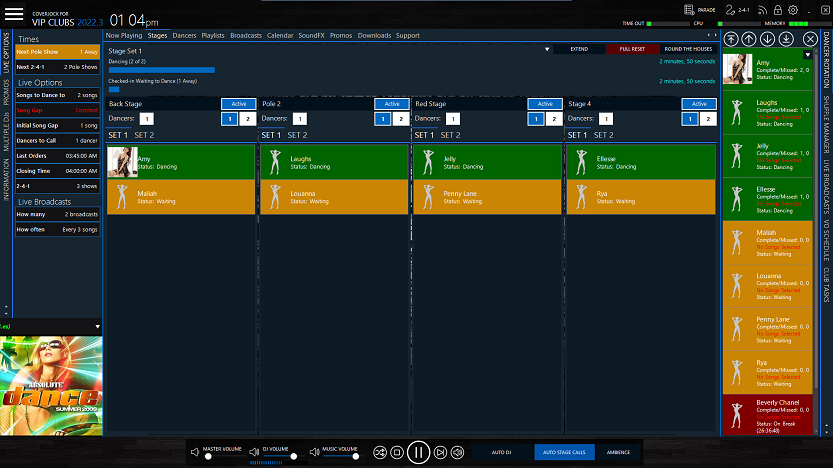
Enable or Disable Auto Stage Calls
-
Open the back office, then tap or click on the Stages tab.
-
Press the Auto Stage Call button at the bottom, when it's highlighted CoverJock will automatically calls dancers.
|

|
Note
If you deactivate a auto stage calls whilst there is a pole show active, it will turn it off but leave the dancers on stage until the end of their performance.
|
Enable or Disable Stages
-
Open the back office, then tap or click on the Stages tab.
-
Press the Active button on a stage, when it's highlighted it is active.
|
|
Note
If you deactivate a stage whilst there is a pole show active, it will turn it off but leave the dancers on stage until the end of their performance.
|
Set Number of Dancers on a Stage
-
Open the back office, then tap or click on the Stages tab.
-
Press the on the button next to Dancers.
(Default is 1 dancer)
-
A number pad will appear, press the number of dancers you want on that stage and tap or click OK.
|
|
Note
If you change the number of dancers on stage whilst there is a pole show active, it will change the amount of dancers on the next stage call/pole show.
|
Setting a Stage Name
-
Open the back office, then tap or click on the Options button in the top right hand corner.
-
Tap or click on the Stage Manager button.
-
Select the number of stages, then tap or click on a stage then press Request Name.
(Please allow up to 24 hours for your DJ to record these voice-overs)
-
Tap or click Save.
|
|
Note
If you deactivate a stage whilst there is a pole show active, it will turn it off but leave the dancers on stage until the end of their performance.
|
|