🧭 Overview
The Memo System allows administrators and managers to send internal messages to staff or dancers directly within BoothPoint. Memos can include formatted text, attachments, and are stored for future reference.
Each memo is timestamped, logged under the sender’s name, and can be printed or marked as read.

📋 Creating a Memo
-
Open Memo View or select Create New from the top‑right corner.
-
In the To field, select one or more recipients (staff or dancers).
-
Optionally attach files using the Attach button.
-
Enter a Subject line to summarize the memo.
-
Type your message in the main text area.
-
Press Save to send the memo.
📨 Viewing Memos
-
Access via Dashboard > Memos or Reports > Memos.
-
The Sent Memos panel lists all memos you’ve sent, showing:
-
Sender name
-
Subject
-
Date and time
-
Selecting a memo displays its full content on the right.
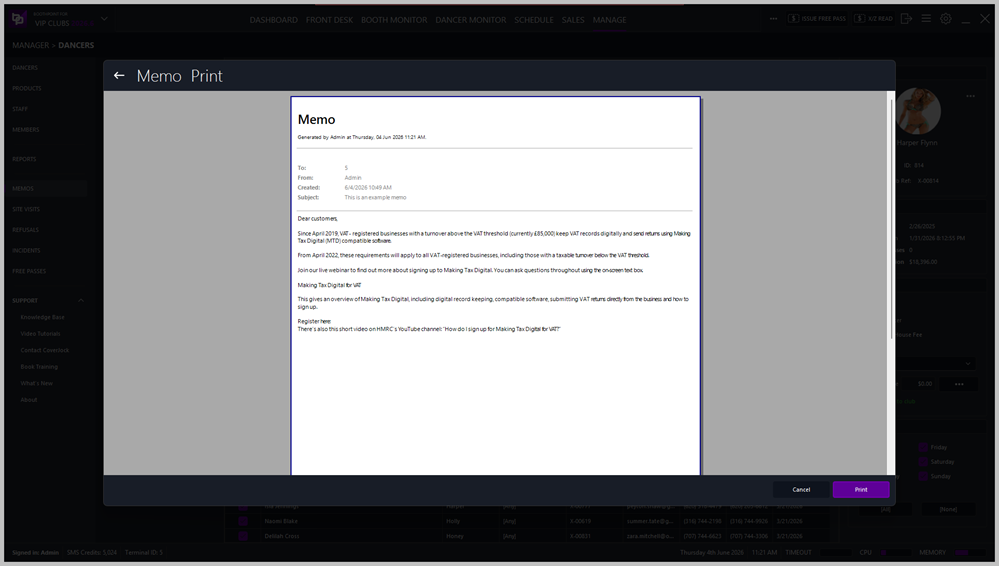
🧾 Memo Details
Each memo includes:
| Field |
Description |
| From |
The sender’s name (e.g., Admin). |
| To |
Recipient ID or name. |
| Created |
Date and time the memo was sent. |
| Subject |
Memo title or summary. |
| Body |
The main message content. |
| Attachments |
Any files linked to the memo. |
🖨️ Printing and Actions
At the top of the Memo View screen:
-
Print – prints the memo for physical records.
-
Mark as Read – confirms the recipient has viewed the memo.
-
Create New – opens a blank memo form for sending another message.
|

|
Tip
-
Use clear subjects so memos are easy to find later.
-
Attach supporting documents (e.g., shift schedules, policy updates).
-
Keep formatting simple for consistent printing.
|
|