Adding & Editing Members
|
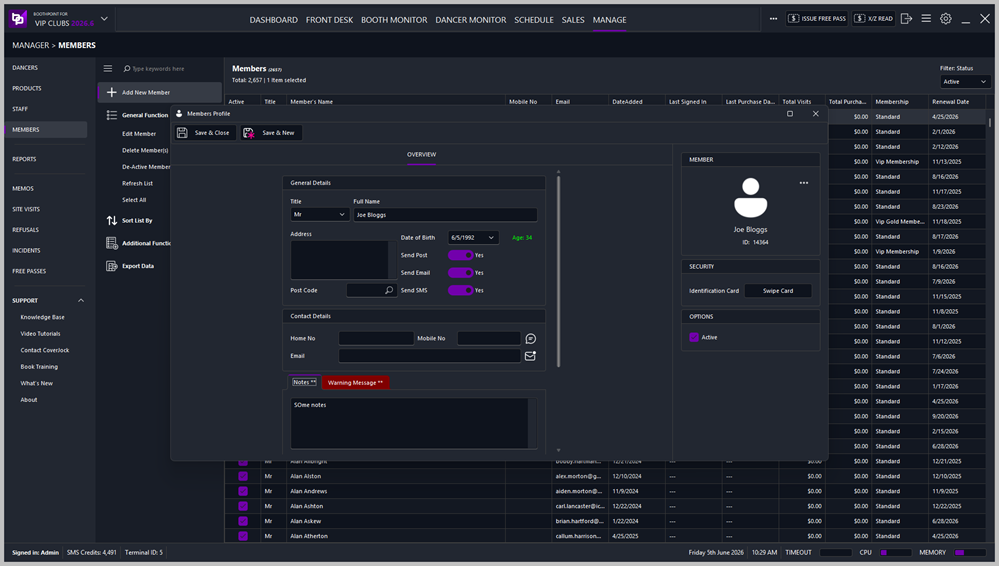
This section explains how to add a new member in BoothPoint, including entering details, setting membership type, and saving the profile.
[Video on adding a member]
➕Adding a New MemberAll staff management is done in the Back Office.
This opens the Member Profile form ready for entry.
📝 Entering Member Details🧑 Personal Information
Use the search icon next to Post Code to look up addresses quickly. 📬 Communication PreferencesToggle the switches to choose how the member receives communications:
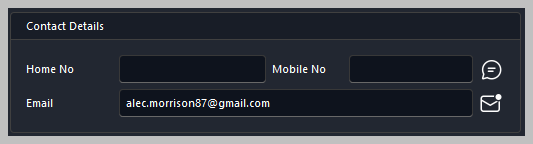
📞 Contact Details
📧 Adding Contact InformationEnter the member’s:
Icons next to each field allow quick access to send an email or SMS directly from the profile.
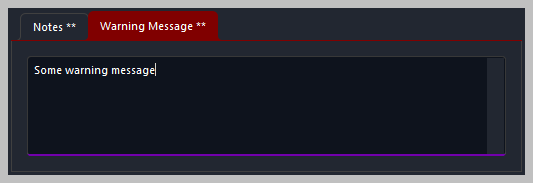
🗒️ Notes and Warnings
🗂️ Notes TabAdd general notes about the member for internal reference. ⚠️ Warning Message TabEnter any warnings or important alerts that should appear when the member is accessed.
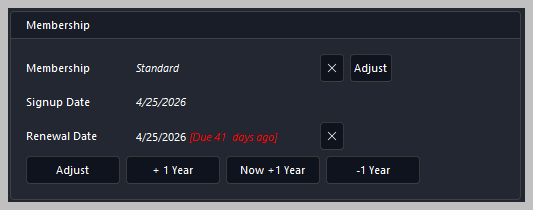
💳 Membership Setup
🪪 Membership Details
🔧 Adjusting Renewal DatesUse the buttons to adjust renewal periods:
If the renewal date is overdue, BoothPoint displays a red warning next to the date.
💾 Saving the Member
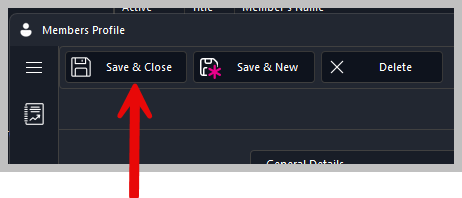
✔️ Save Options
📝 Notes⚙️ Mandatory FieldsIn Options → Mandatory Fields, you can set which fields must be completed before saving is allowed. 🔔 Renewal AlertsIf a membership renewal date has passed, BoothPoint highlights it in red and can trigger a reminder during check‑in.
|