|
Want to create a new staff to be used in BoothPoint? Here's how:
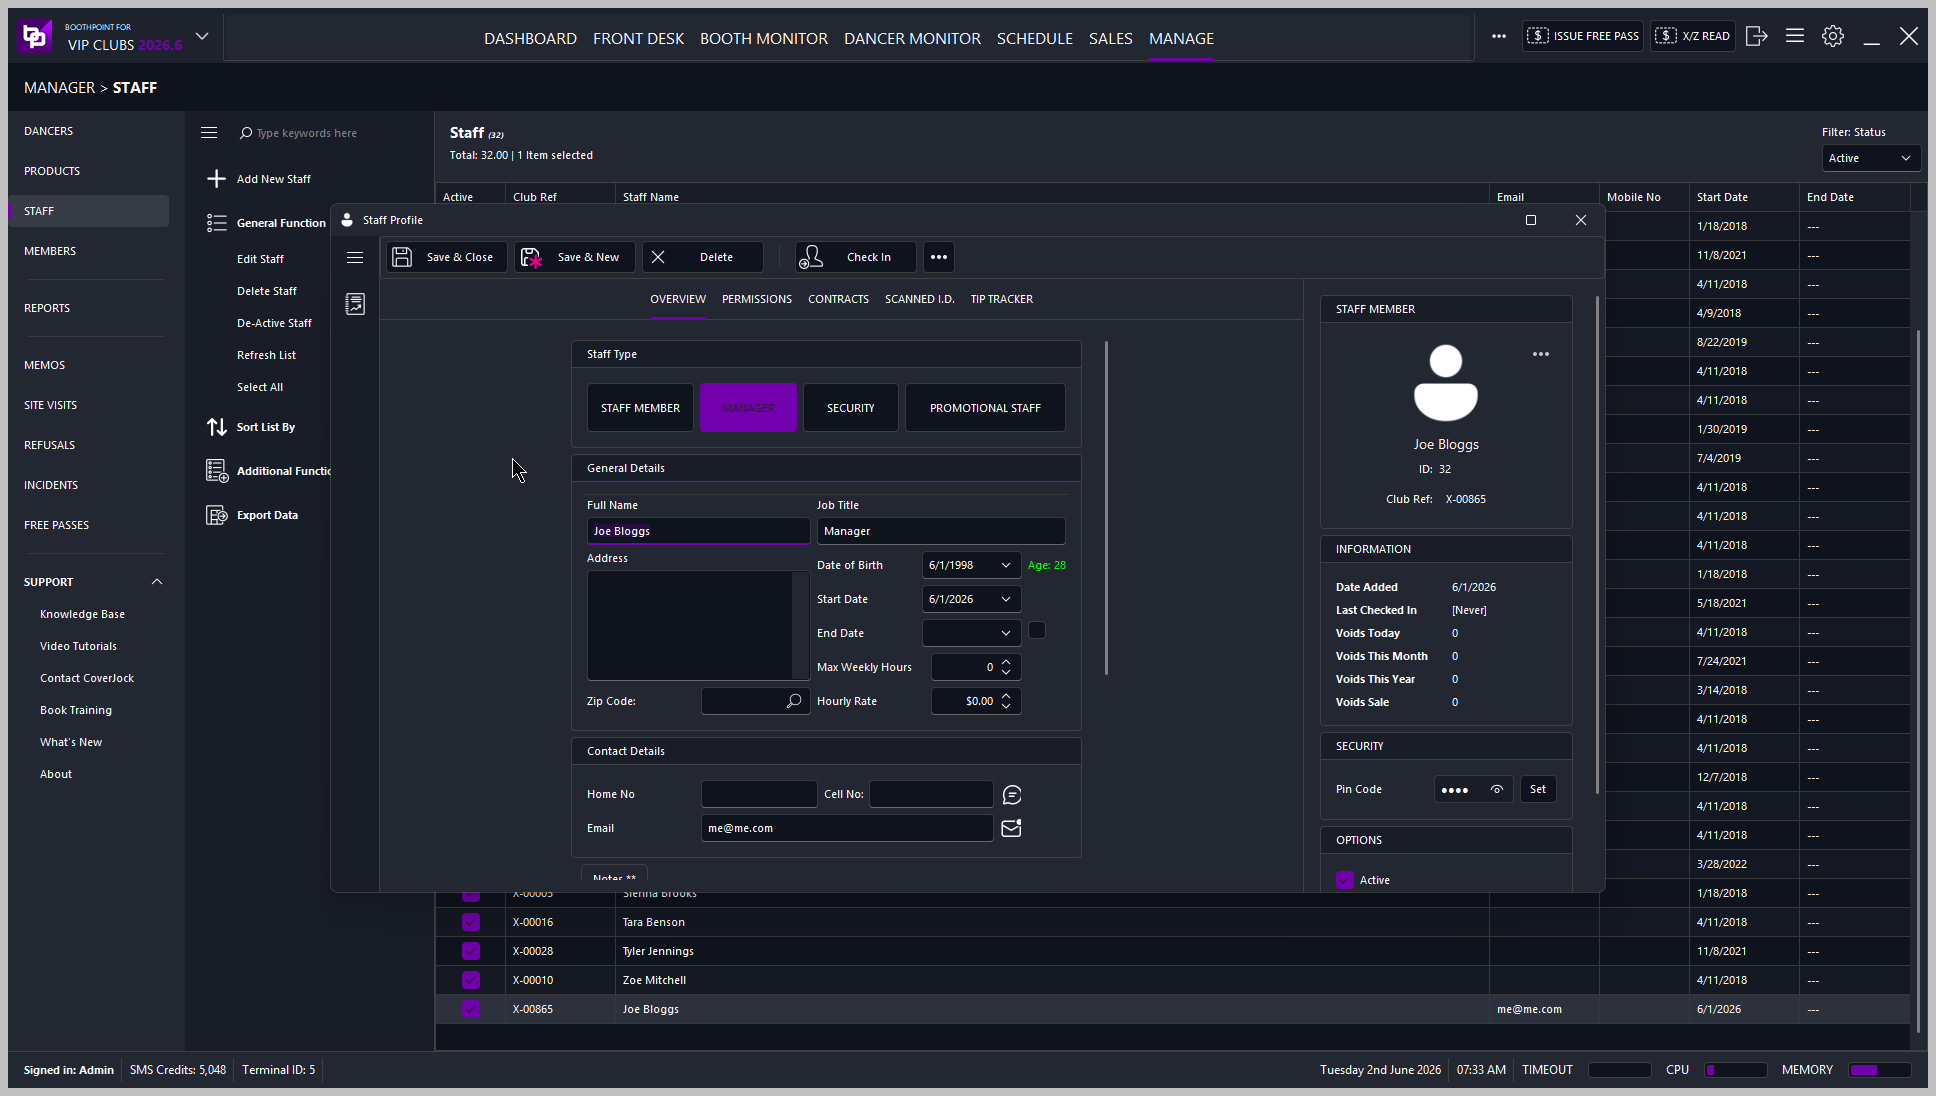
➕ Adding a New Staff Member
All staff management is done in the Back Office.
-
Navigate to the Manage tab.
-
Select Staff from the left‑hand menu.
-
Click Add New Staff.
You can now begin entering the staff member’s details.
-
Select the Staff Type — in this example, we’ll choose Manager.
-
Enter the Staff Name and any other relevant information.
-
Additional fields are available if you wish to store more details, but they are optional.
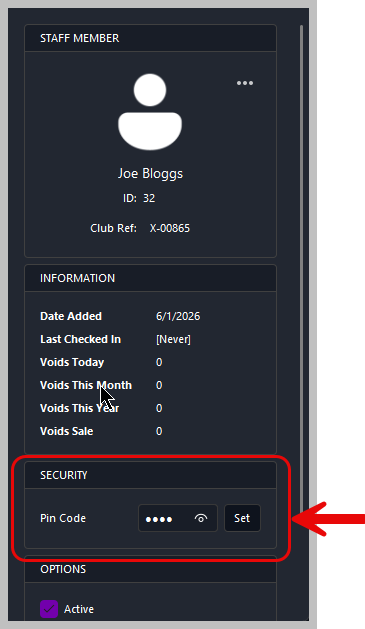 |
On the right‑hand side, you’ll find the PIN Code section. This is where you assign the staff member’s login PIN.
If your venue uses fingerprint readers or swipe cards, those options will also appear here once enabled.
Options > System > Signing in
|
|
🔐 Setting Permissions
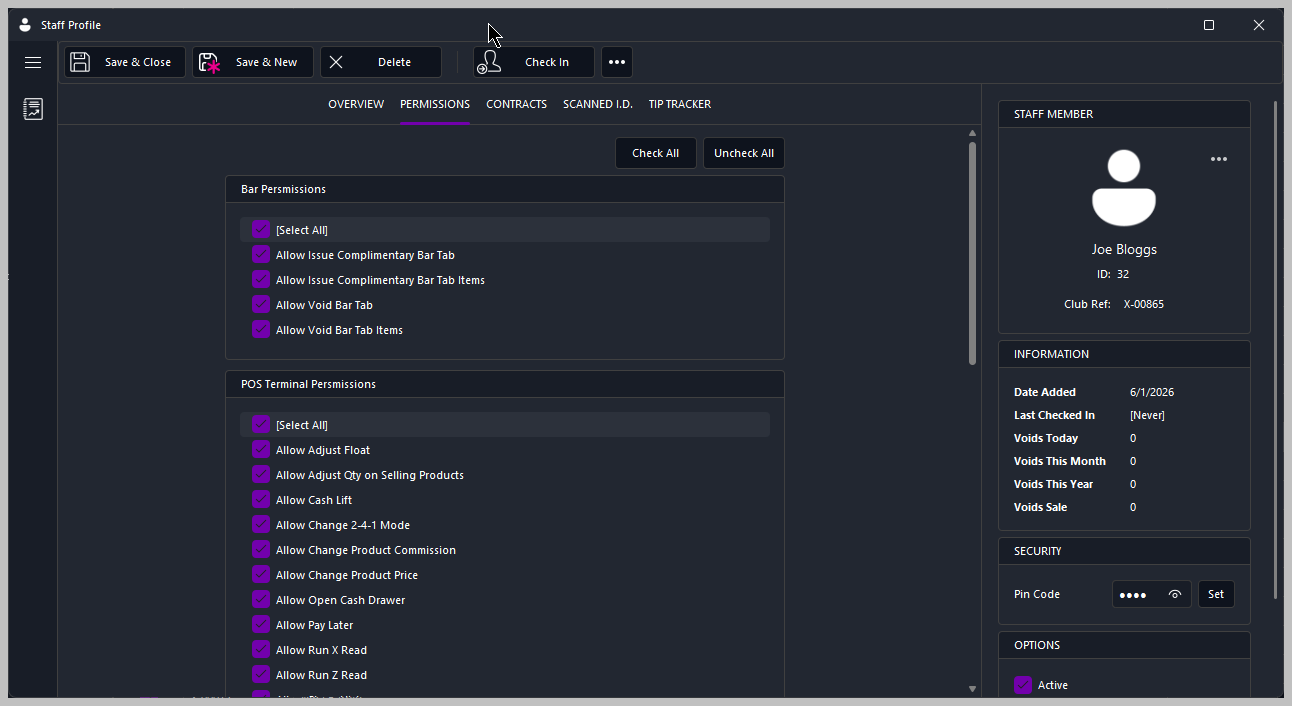
Next, go to the Permissions tab. This is where you decide what the staff member is allowed to do within BoothPoint.
Permissions are grouped into:
-
Bar permissions
-
POS Terminal permissions
-
General permissions
-
Back Office permissions
|

|
Tip
For this example, we’ll allow the new manager full access by selecting Check All.
|
|
|
Tip
Click this link to read more about what permissions are available to you. Staff Permissions
|
📝 Contracts
![]() 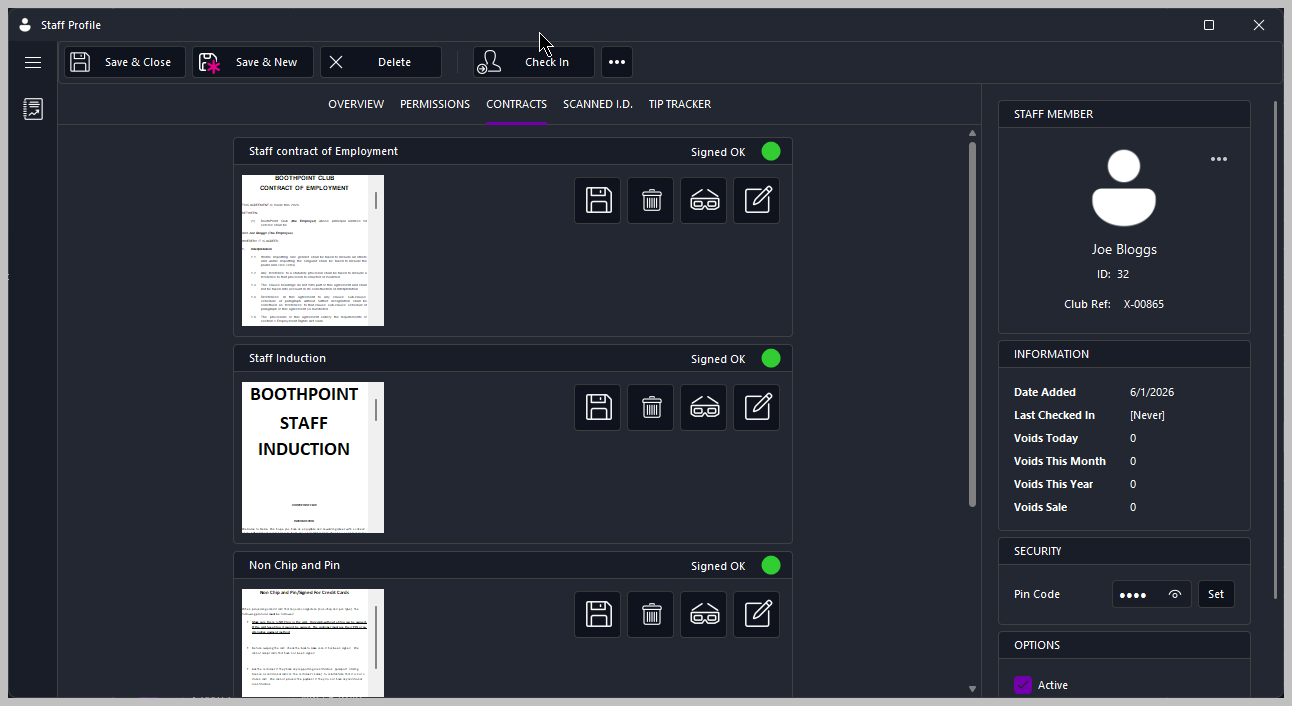
The Contracts tab is where staff members sign their digital contracts.
To demonstrate, we’ll quickly sign the required documents. Once signed, they are stored securely within the staff profile.
|
|
Tip
To sign the contract, the staff member needs to read the document and scroll all the way to bottom. Once at the bottom a button appears in the bottom left, tap or click Sign Contract button. Depending on what variables have been added to the document depends on what signature, print or date is required.
Options > Club Contracts > Staff Contracts
|
🪪 Scanned I.D.
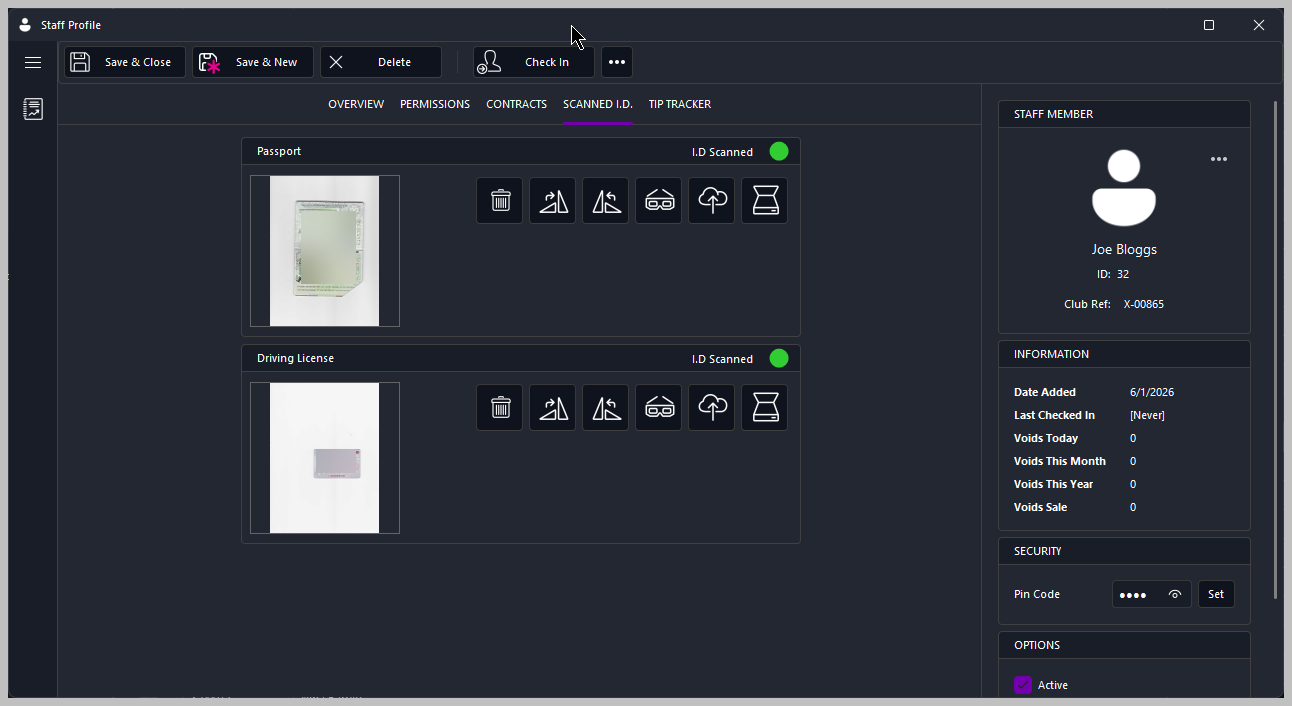
- Next is the Scanned I.D. tab.
- This works similarly to the Contracts tab but is used for capturing identification documents using a flatbed scanner.
- We’ll scan a passport and a driving licence as an example.
💾 Saving the Staff Member
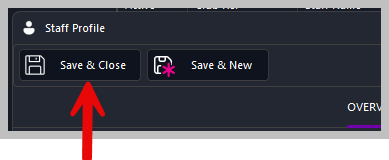
- Once all details are complete, click Save and Close or Save and New (if you want to create a new one straight afterwards).
- Your new manager now appears in the staff list and is ready to use BoothPoint.
|