Adding & Editing Dancers
🧭 Overview
In this short help guide, we’ll walk through how to add a new dancer in BoothPoint. You’ll learn how to:
➕Adding a New Dancer
Dancers are created in the Back Office.
This opens the full dancer profile screen.
📝 Entering Dancer InformationBegin by entering the dancer’s basic details such as:
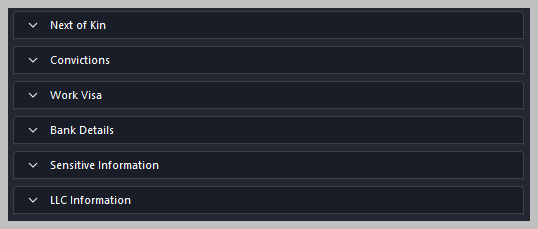
You can also complete additional optional fields if you wish to store more detailed information:
These fields are not required but are available for clubs that need deeper record‑keeping.
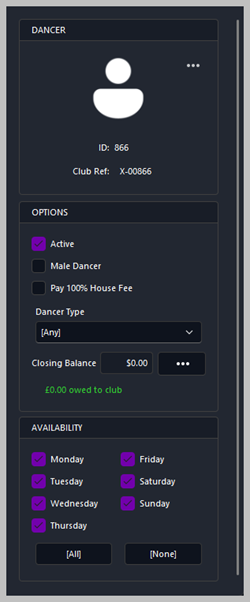
⚙️ Additional Options (Right‑Hand Panel)
📝 Contracts Tab
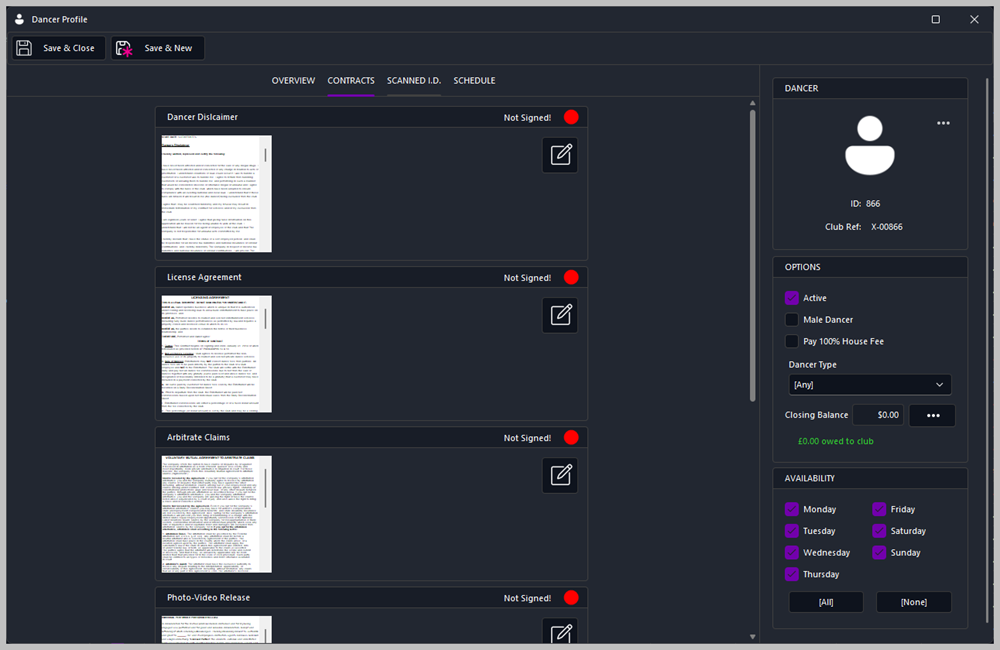
Next, head over to the Contracts tab.
This is where the dancer signs their required documents. Simply select each contract and the dancer can sign directly on screen.
(For demonstration purposes, you can sign quickly to show how the workflow operates.)
🪪 Scanned ID Tab
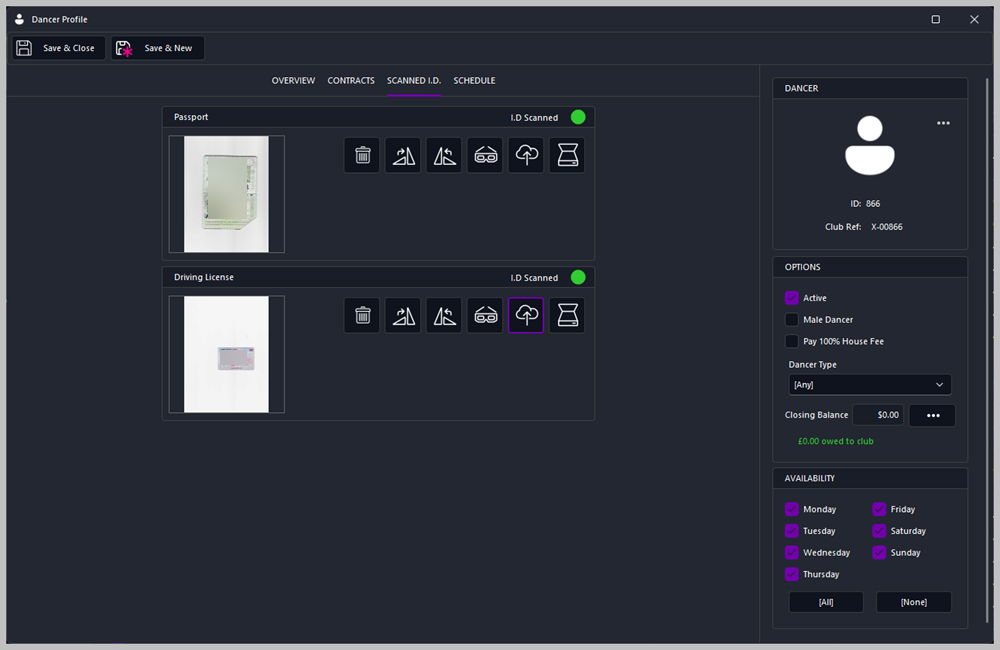
Move to the Scanned I.D. tab.
This works the same way as the Contracts tab, but instead of signatures, it captures ID documents using a flatbed scanner.
You can scan:
Each scan is stored securely in the dancer’s profile.
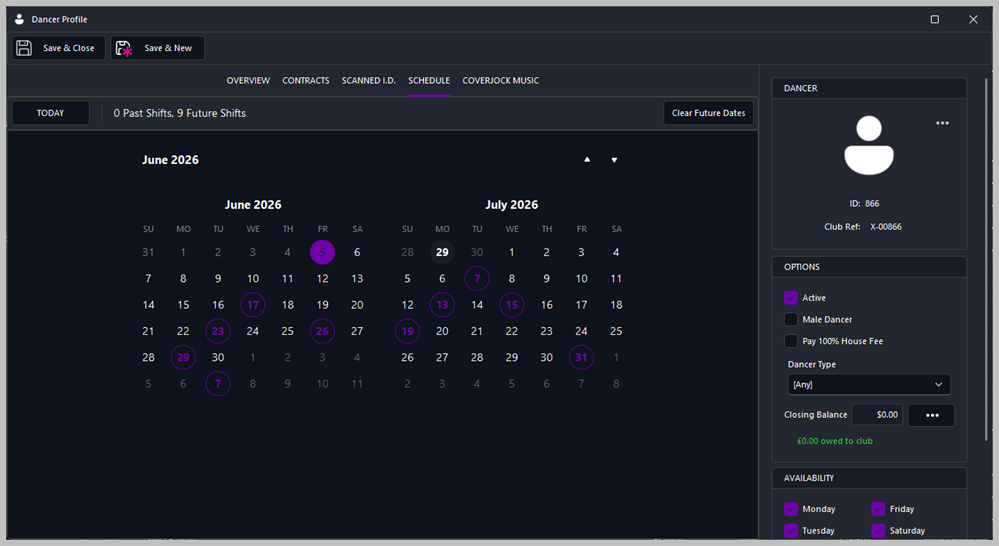
📅 Schedule Tab
Next is the Schedule tab.
Here you can set which days the dancer is expected to work. Simply click the days of the week to mark them as scheduled.
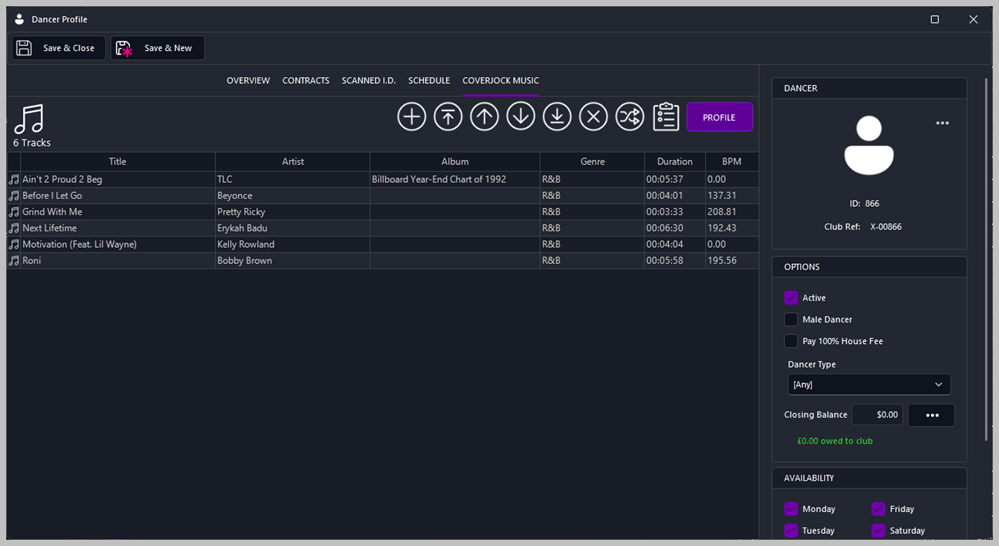
This helps with planning, staffing, and timetable visibility. 🎵 CoverJock Music Tab
If your system includes CoverJock, you’ll see the CoverJock Music tab.
This allows you to pre‑configure the dancer’s music preferences directly from the Back Office, including:
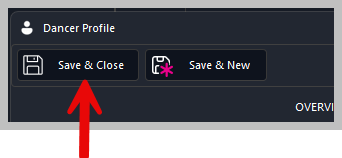
This ensures the DJ has everything ready before the dancer arrives. 💾 Saving the DancerOnce all required information is complete:
🎉 CompletionYour new dancer is now fully set up in BoothPoint.
If you want, I can now create matching help‑manual pages for:
Related Topics
|