|
The Schedule tab provides a complete weekly overview of both staff and dancer schedules. It allows management to plan, monitor, and adjust shifts, ensuring full coverage across all departments and performance areas.
Staff Schedules

Dancer's Schedule
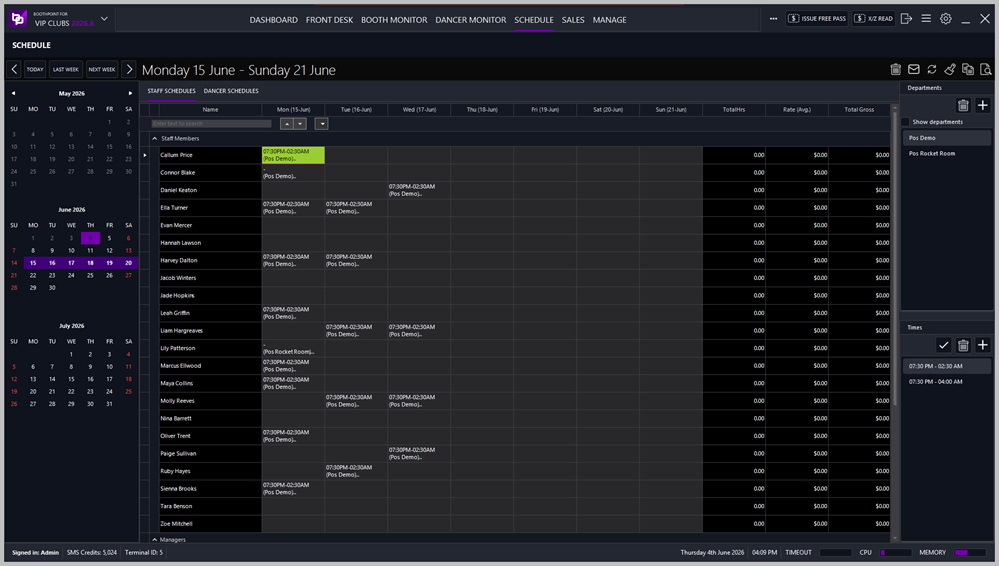
Main Layout
The Schedule screen is divided into several key sections:
-
Calendar Panel
-
Schedule Table
-
Departments Panel
-
Times Panel
-
System Status Bar
|

|
Tip
Use the top menu buttons to manage the live schedule list:
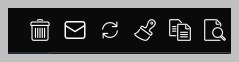
- Delete selected schedule
- Email schedule
- Refresh schedule
- Clear whole week's schedule
- Copy week's schedule
- Print preview
|
|
|
Tip
Navigation buttons:
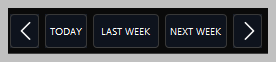
- Move to previous week from selection
- Move to this week
- Move to last week
- Move to next week
- Move to next week from selection
|
1. Calendar Panel
Located on the left side of the screen, the calendar panel allows navigation between months and weeks.
-
Month Selector: Displays three months at a time (e.g., June, July, August).
-
Week Navigation:
-
The active week is highlighted in purple for easy identification.
2. Schedule Table
The central area displays the weekly schedule grid. It contains two tabs at the top:
Staff Schedules
Each row represents a staff member, with columns for each day of the week (Monday through Sunday). Cells display shift details, missed shifts, or department assignments.
Example entries:
-
Callum Price — 11:30 AM (Pos Demo)
-
Lily Patterson — 04:30 PM (Pos Rocket Room)
-
Leah Griffin — 07:30 PM – 02:30 AM (Pos Demo)
-
Harley Dalton — Missed Shift (Pos Demo)
Columns at the far right show:
-
Total Hours
-
Average Rate
-
Total Gross
Dancer Schedules
Displays dancer availability and bookings for the week. Each dancer’s name appears in the left column, with daily columns showing:
-
Yes / No – Indicates scheduled or off days.
-
Booked (Missed) – Marks missed or canceled bookings.
-
Free Pass Day – Identifies promotional or non‑paid sessions.
Example entries:
-
Adriana — Yes
-
Akasha — Booked (Missed)
-
Amber — Booked (Missed)
-
Alexis — Yes
-
Alyx — Yes
At the bottom of the table, a count summary shows the total number of listed dancers or staff.
3. Departments Panel
Located on the right side of the screen, this panel manages department assignments.
-
Show Departments – Toggles visibility of department listings.
-
Department List:
-
Departments can be added, edited, or removed using the icons at the top of the panel.
4. Times Panel
Displays preset shift times for quick scheduling.
Example time entries:
-
07:30 PM – 02:30 AM
-
07:30 PM – 04:00 AM
|
|
Tip
When adding a time range to the department, this screen appears for you to enter a start time and end time:
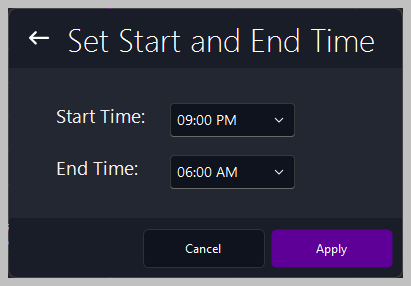
|
Managers can select or create new time ranges using the checkmark and add icons.
5. System Status Bar
Located at the bottom of the screen, the status bar provides real‑time system information:
| Field |
Description |
| Signed In |
Current user account (e.g., Admin). |
| SMS Credits |
Remaining text message credits for notifications. |
| Terminal ID |
Identifies the active workstation. |
| Date & Time |
Current system date and time. |
| Performance Indicators |
Displays Timeout, CPU, and Memory usage.
|
Best Practices
-
Always confirm department assignments before saving weekly schedules.
-
Use the Times panel to standardize shift hours across staff and dancers.
-
Mark missed shifts promptly to maintain accurate attendance records.
-
Refresh the schedule after edits to ensure all changes are visible.
-
Review Total Hours and Gross columns weekly for payroll accuracy.
|