Receipt Print
🧭 OverviewThe Receipt Screen displays a preview of the customer’s receipt before printing or emailing. It is accessed from Options > Devices > Other Devices > Receipts. This screen allows full customization of the header and footer text shown on printed receipts.
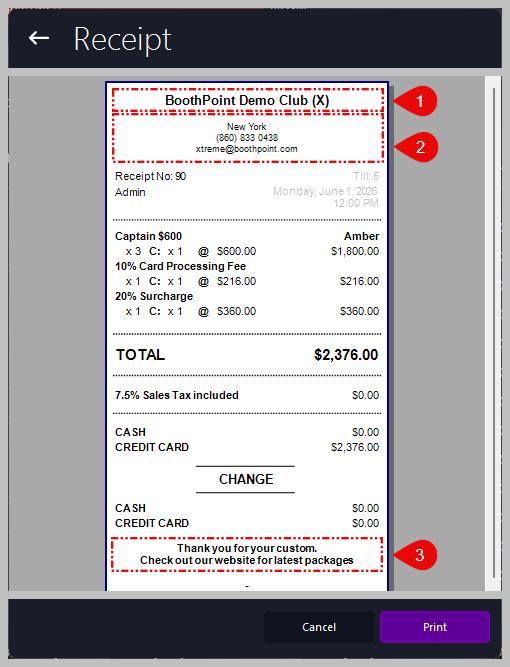
The Receipt Screen displays a preview of the customer’s receipt before printing or emailing. It is accessed from Options > Devices > Other Devices > Receipts. This screen allows full customization of the header and footer text shown on printed receipts. 📋 Customizable FieldsThere are three editable areas on the receipt layout:
🖨️ Printing and ActionsAt the bottom of the screen:
⚙️ Configuration PathTo edit these fields:
Each field can be updated directly in the configuration panel. Changes apply immediately to all future printed receipts.
Related Topics
|